-
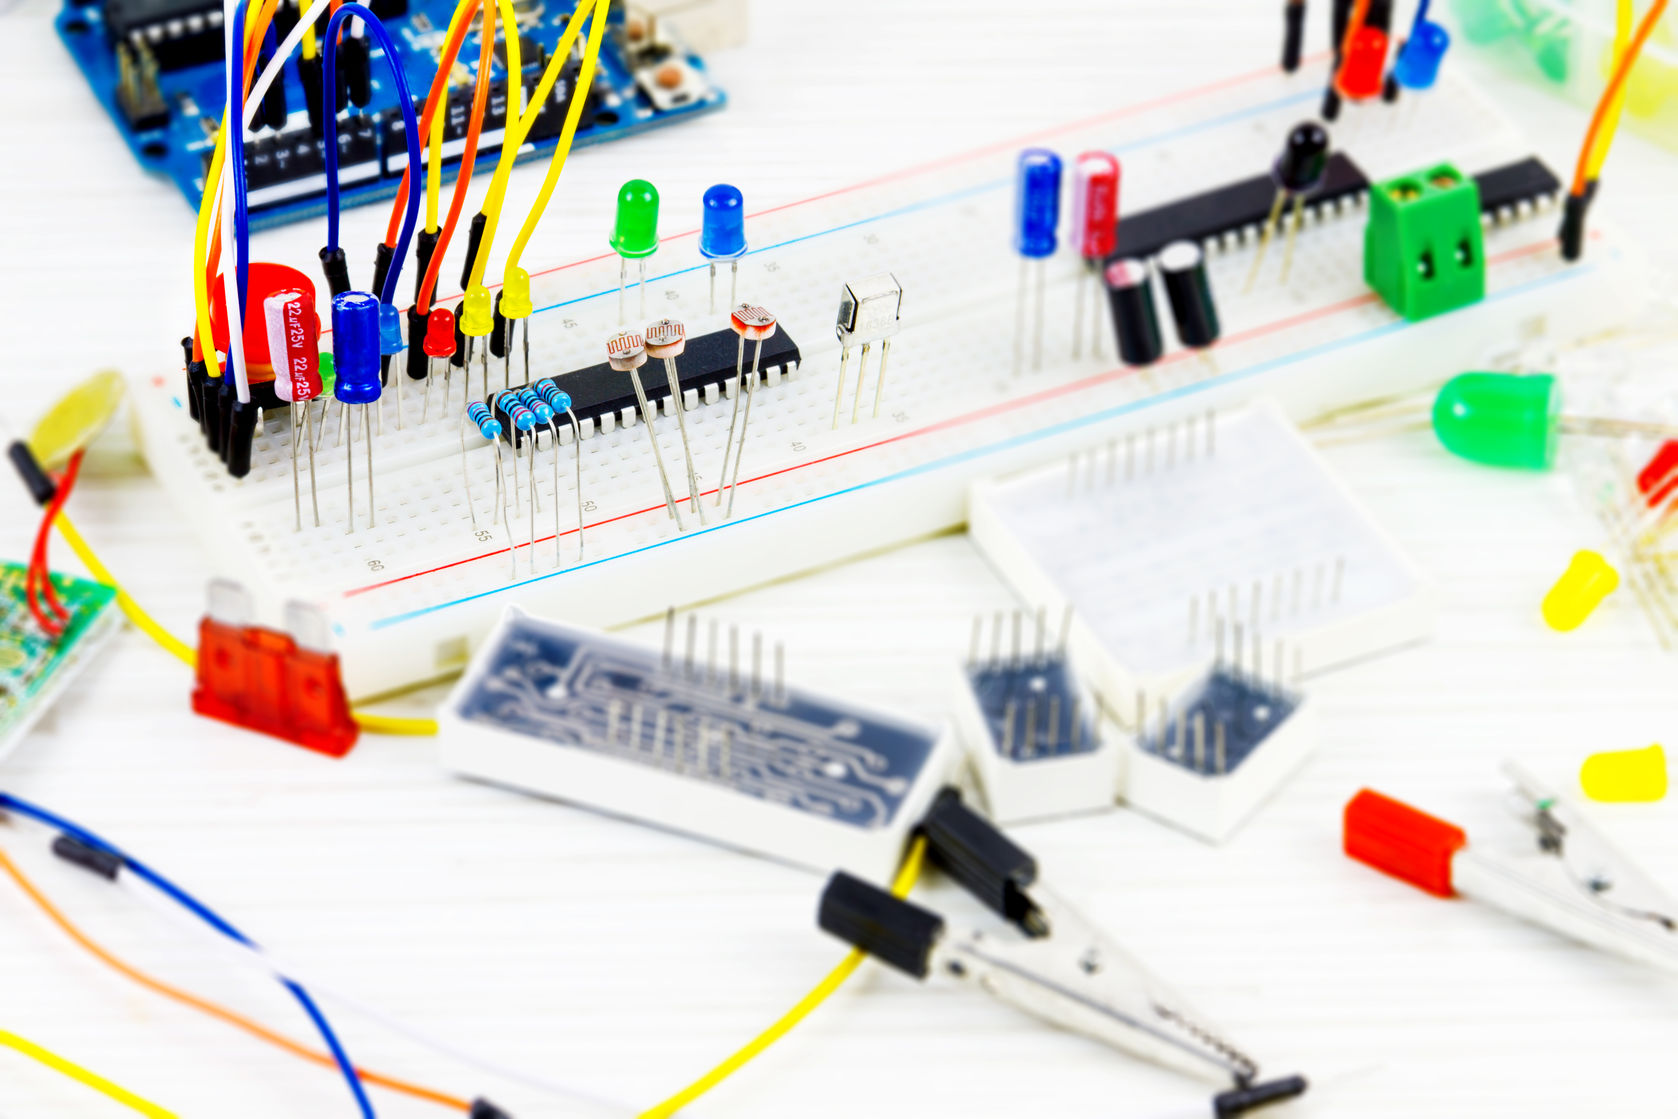
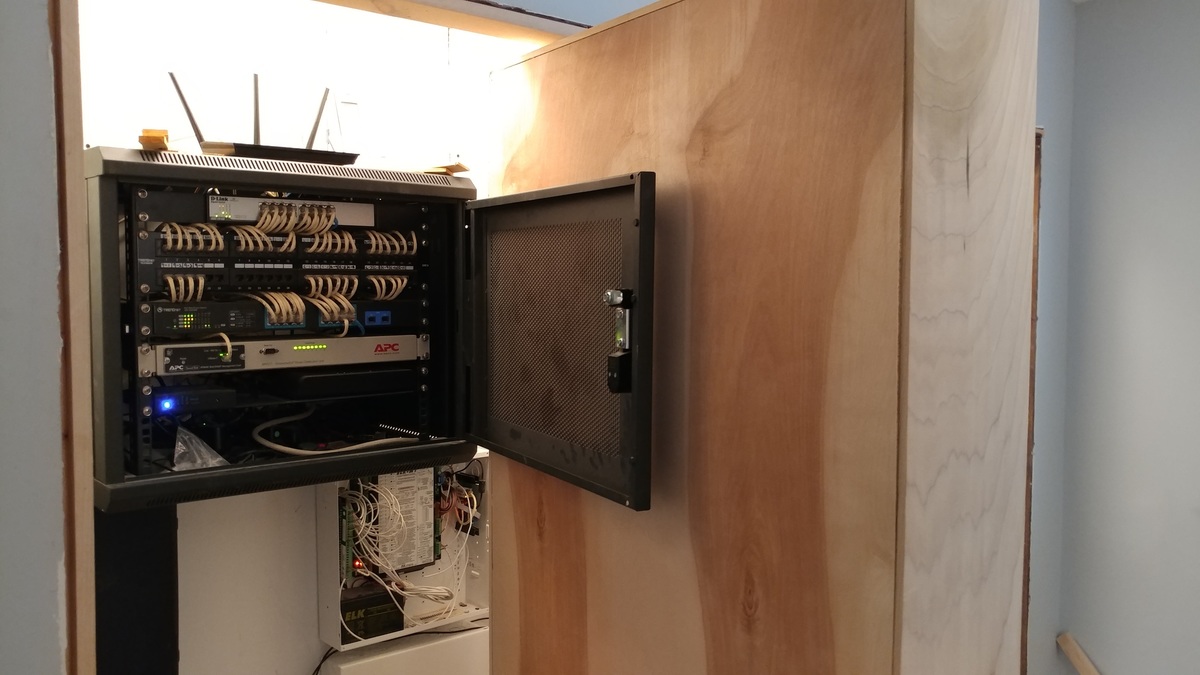
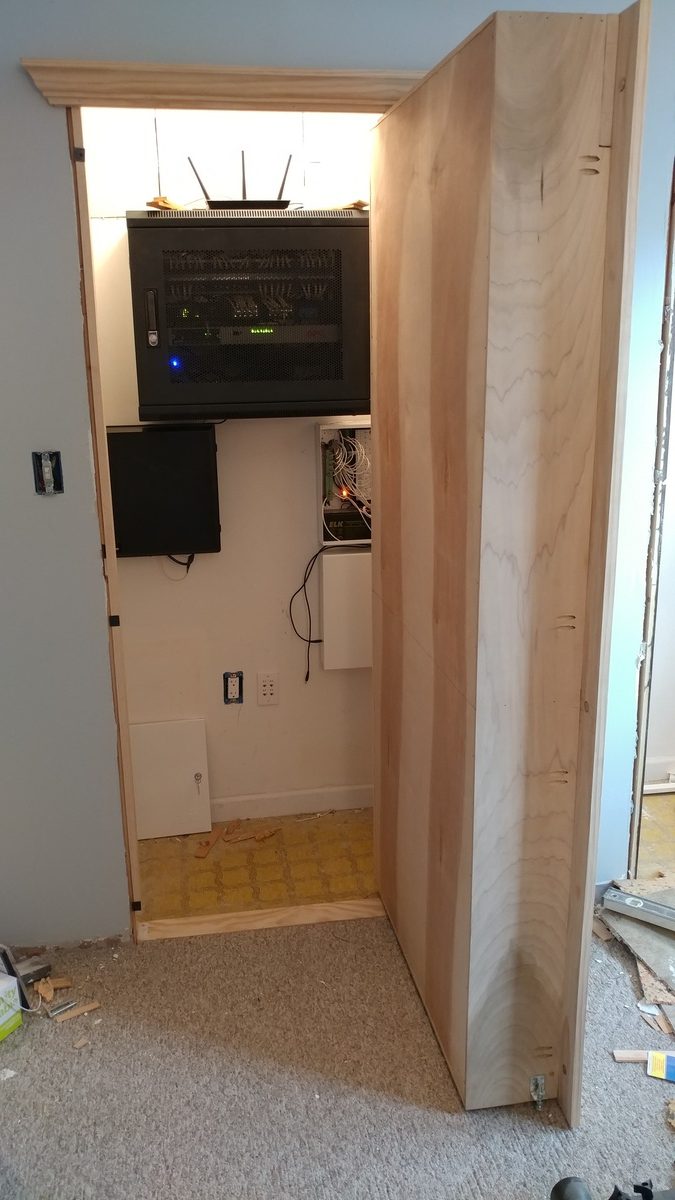
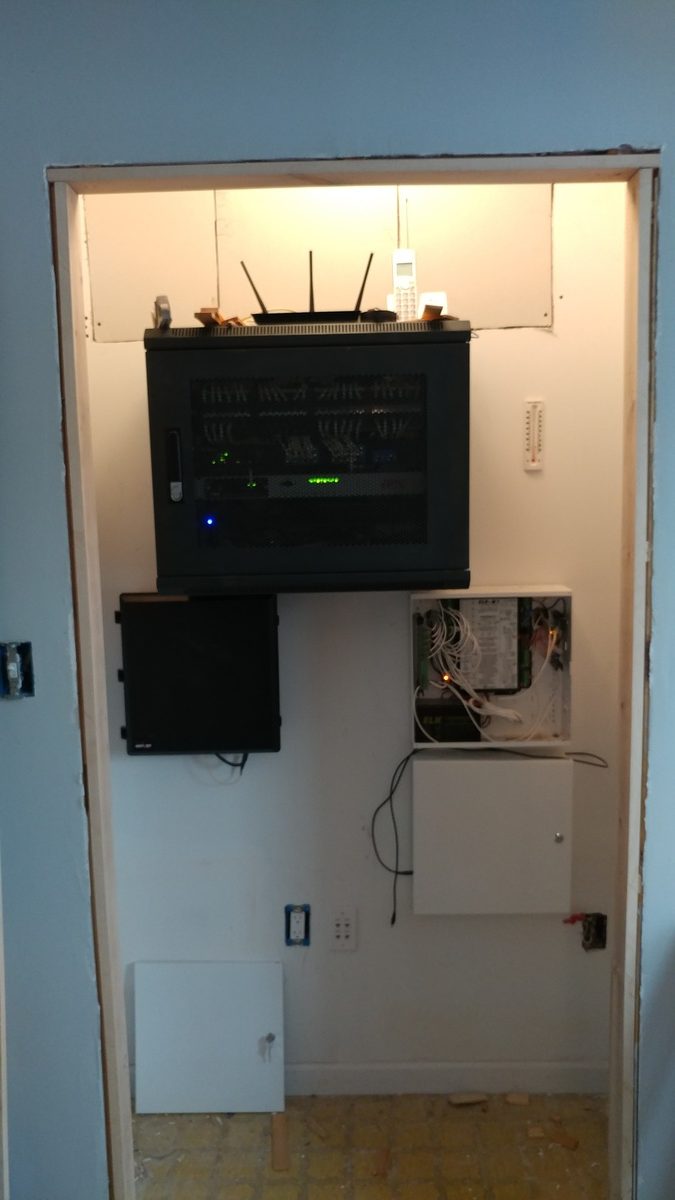 My "Network Closet". The cage has a patch panel with 39 network drops, 2 network switches, a PDU and some other miscellaneous devices. The 2 white panels are for the Security and Home autmation system - ELK M1 Gold. and the black box is my FiOS connection.
 -
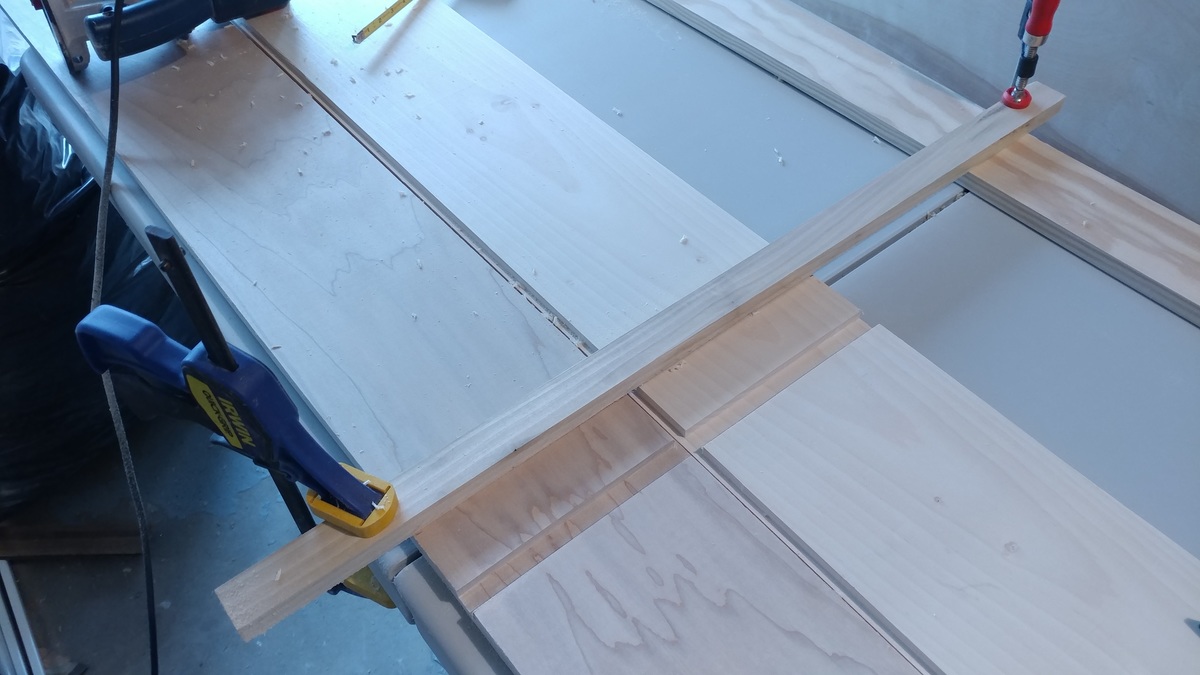
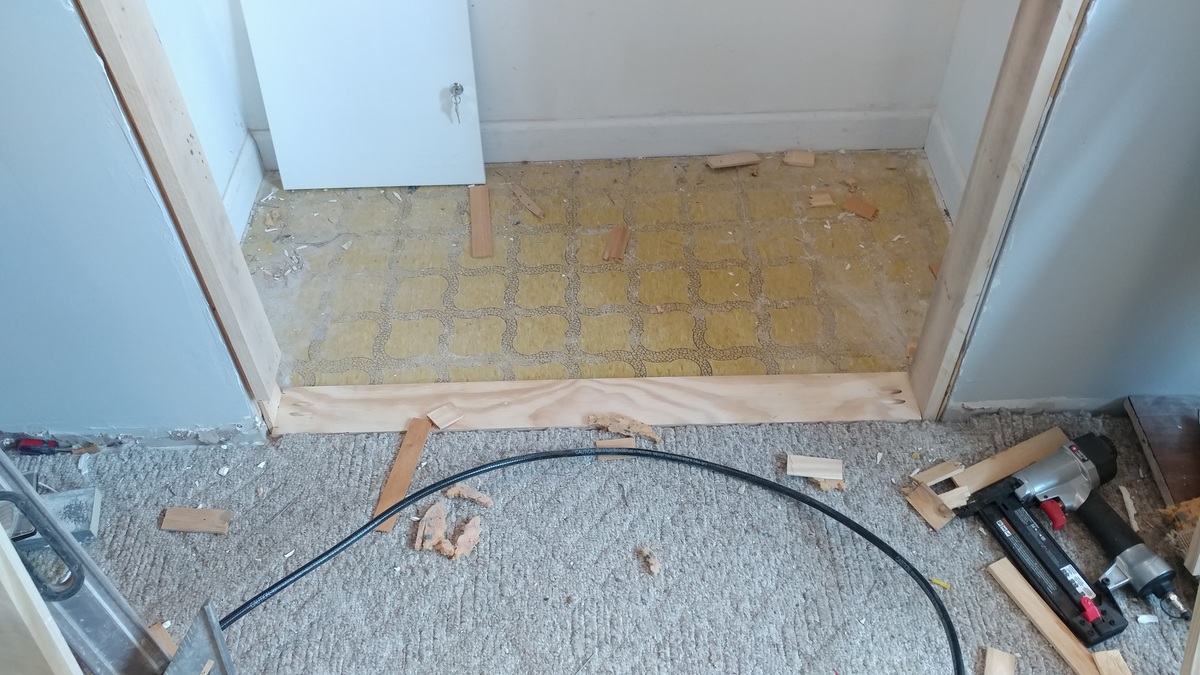 I put a piece of pine down as a threshold. This will hold the bottom half of my door hinge.
 -
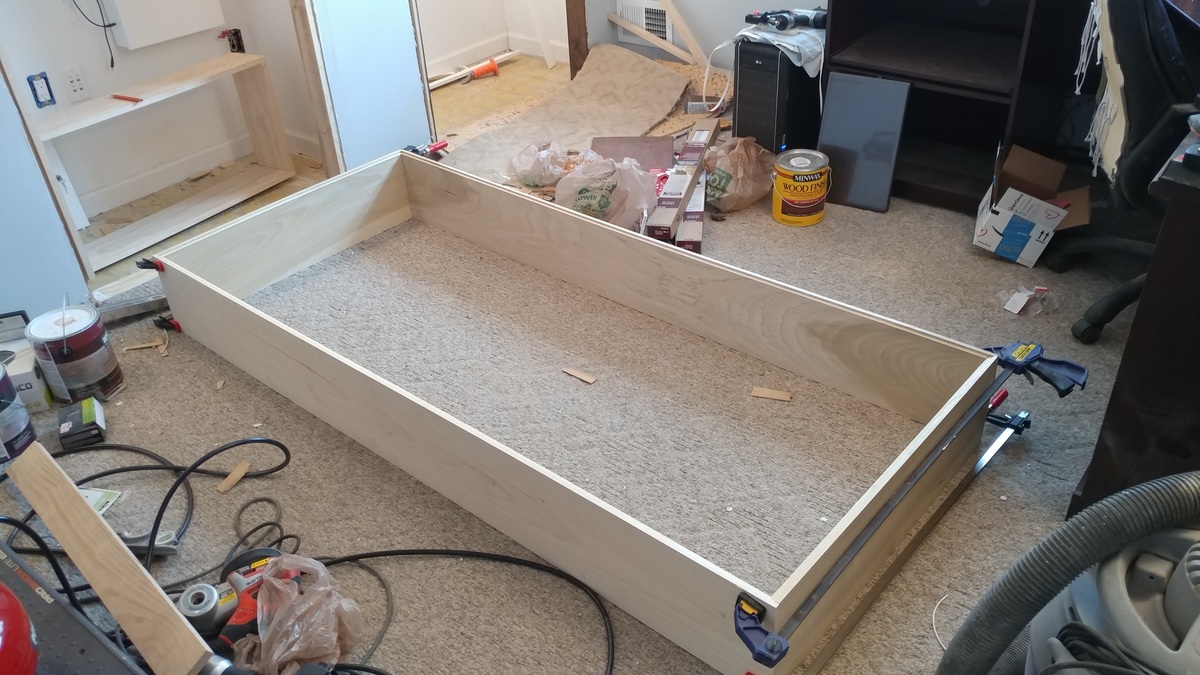 Squaring up the frame to test fit it.
 -
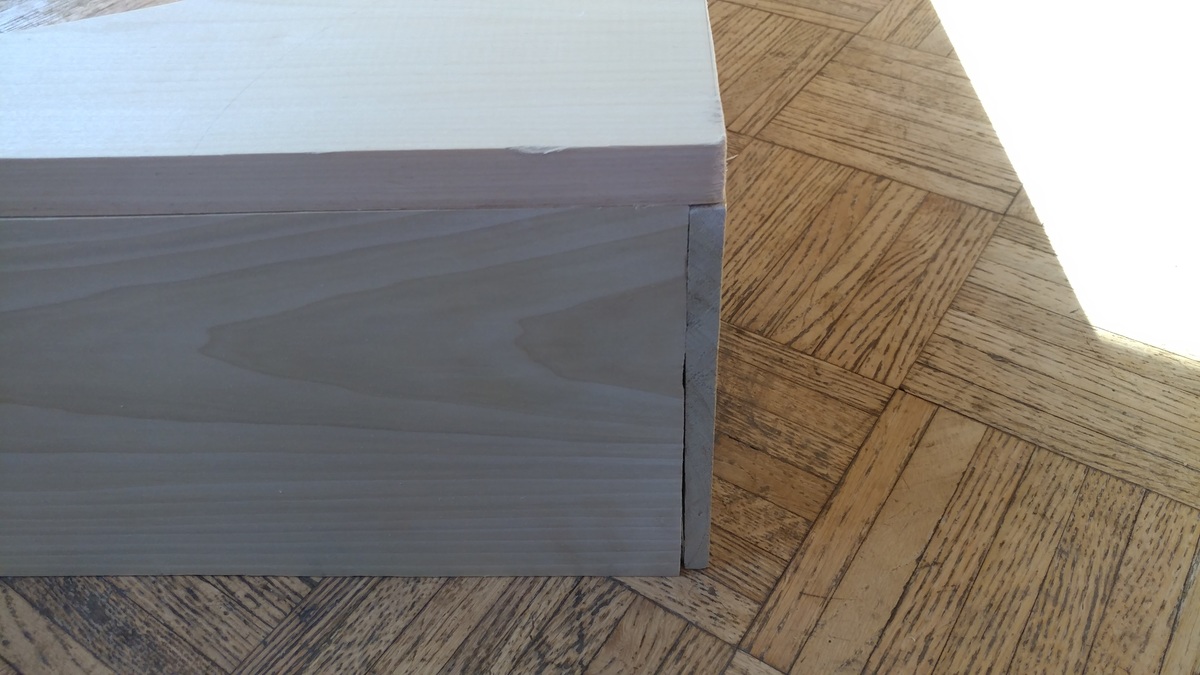
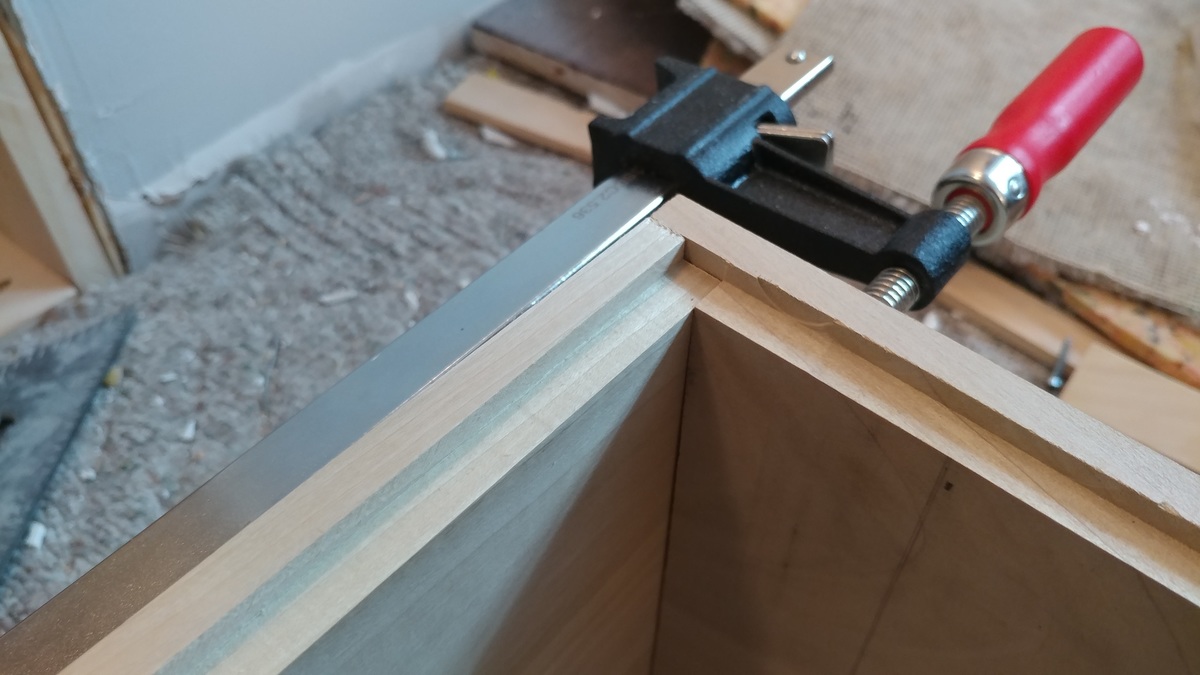 Nice clean Rabbet Joints
 -
 With the 1/4" plywood in place I can be sure the frame is square.
 -
 Joints look good
 -
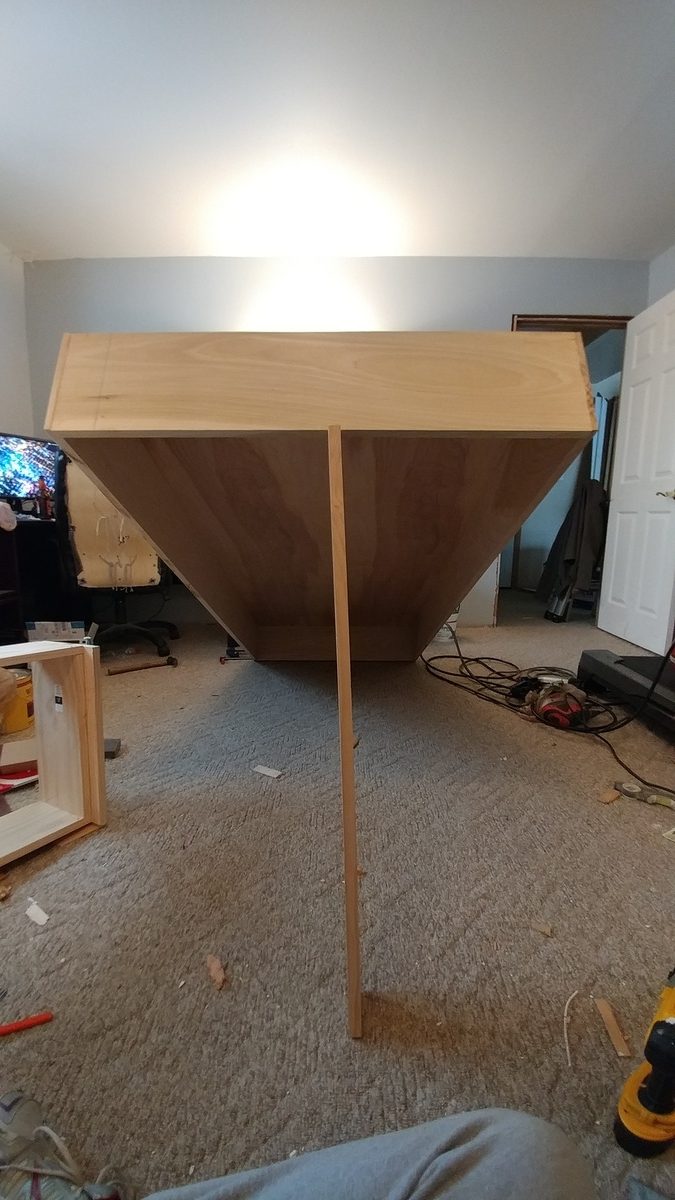 We're hunting wabbits!
 -
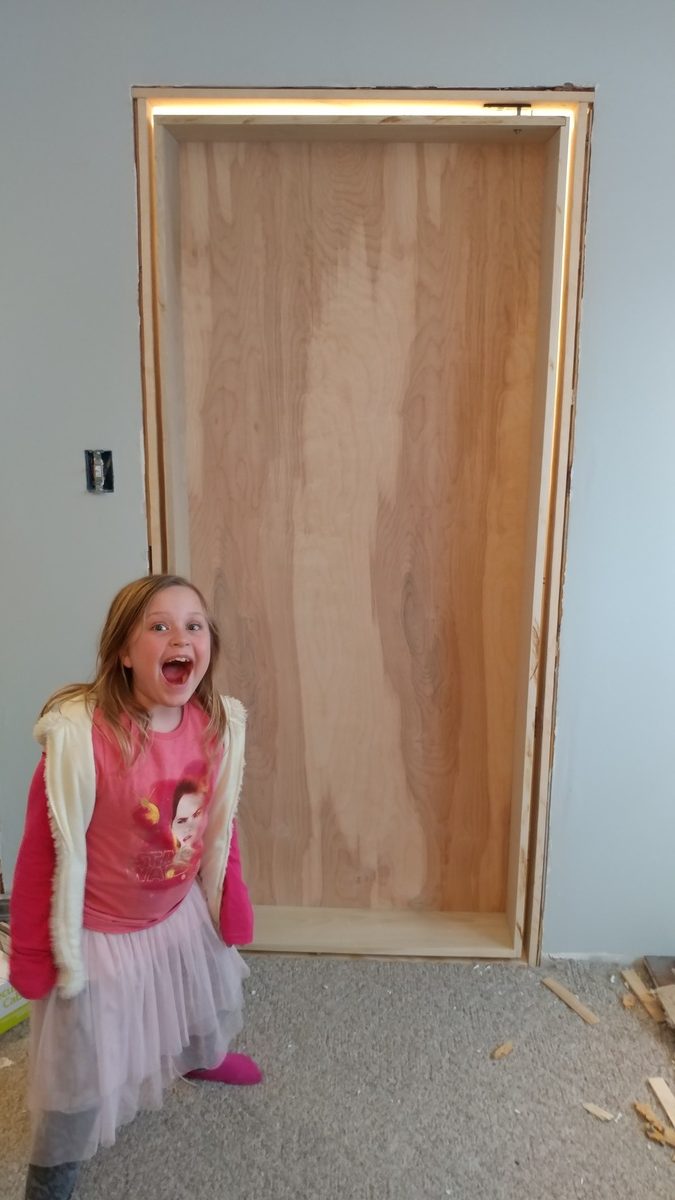 Dry fitting the frame to make sure it will swing smoothly and everything fits as expected. Samantha is pleased 🙂
 -
 I think Samantha would like to move in.
 -
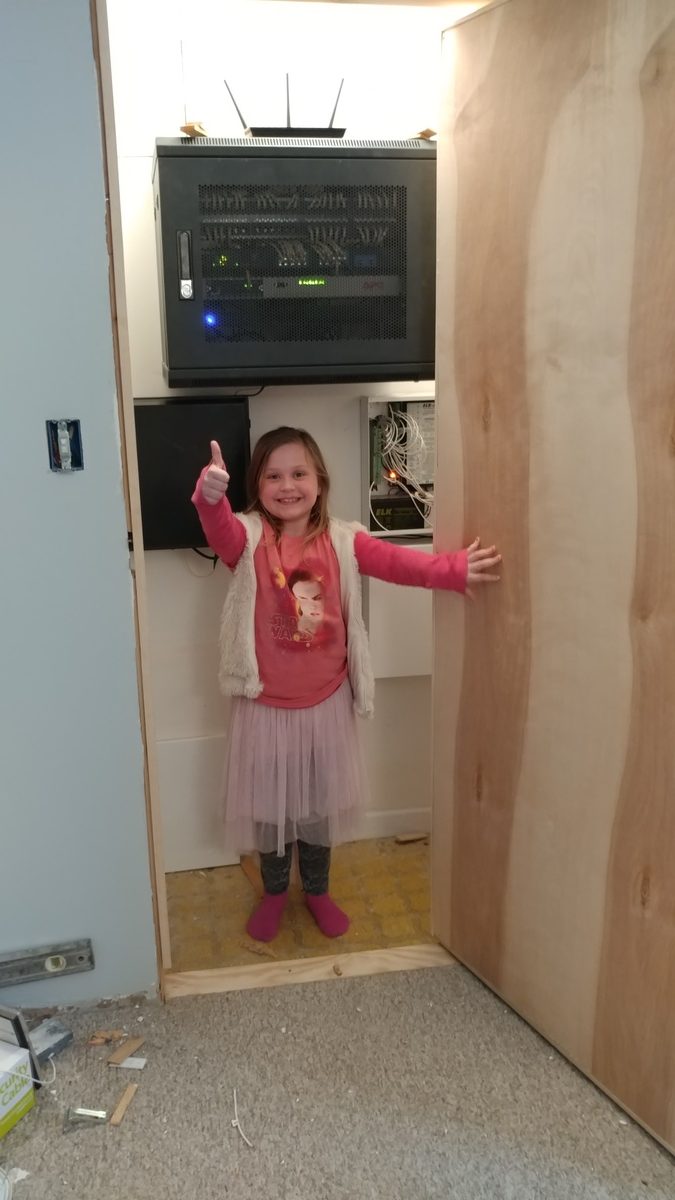
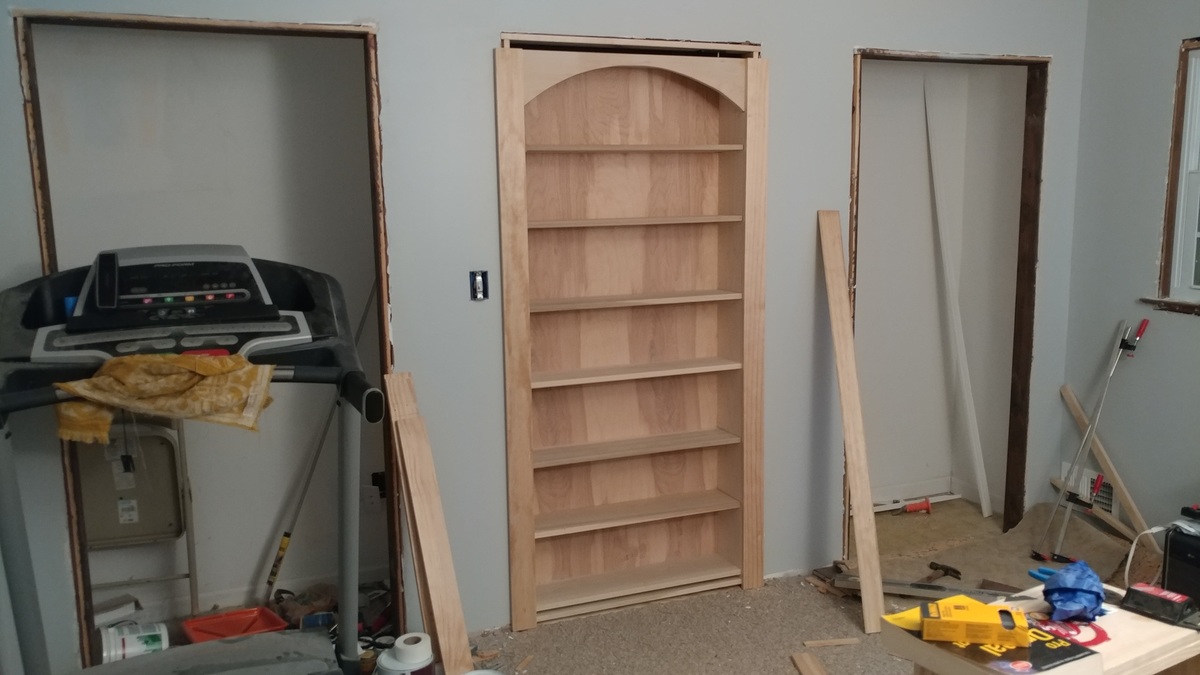
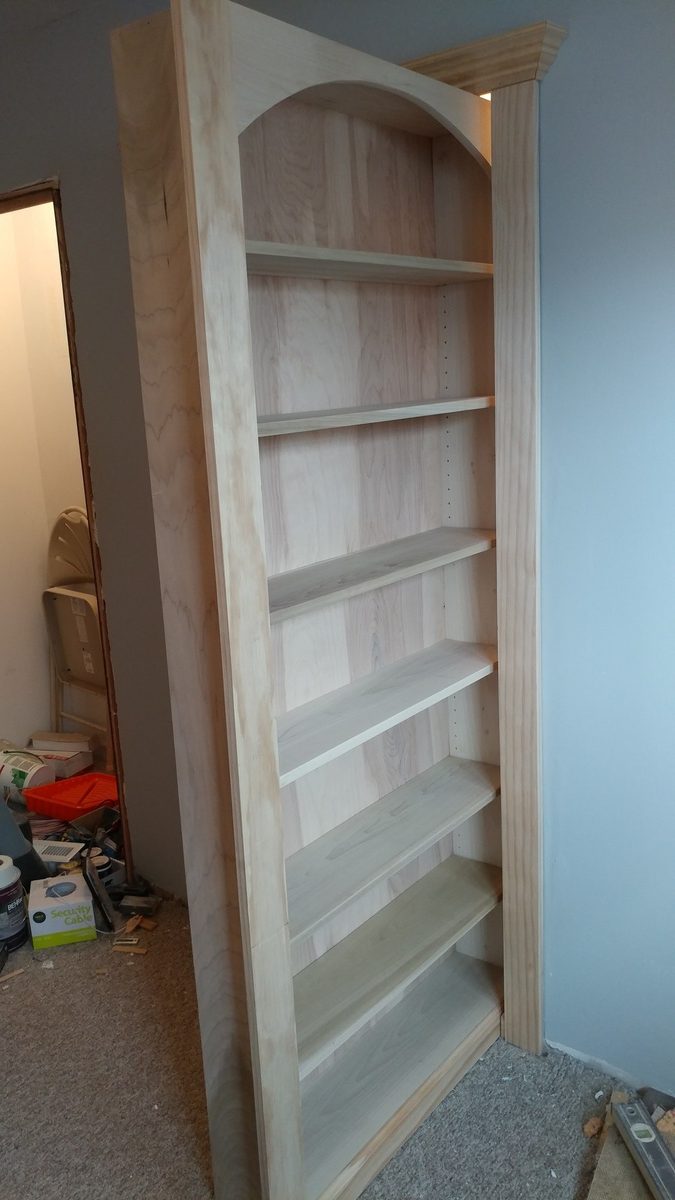
 The bookcase takes up a good chunk of the doorway, but there is still enough clearance to open the cage door.
 -
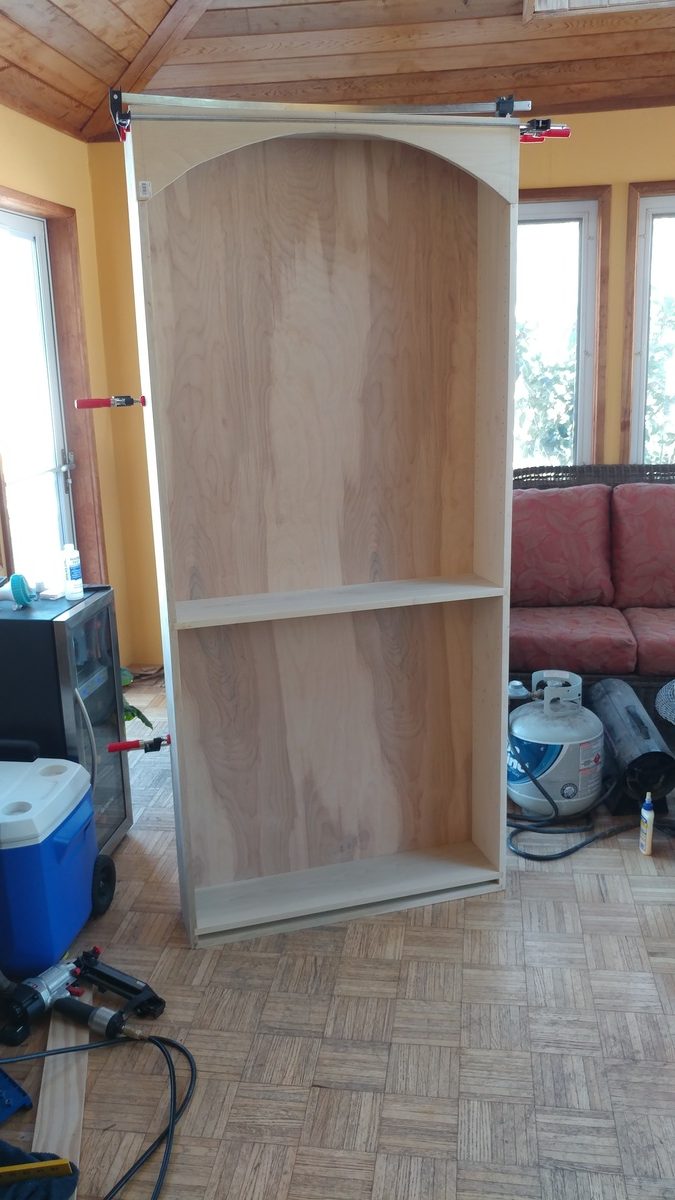
 In addition to the rabbet joints at the ends, I made a dado cut for a shelf in the middle of the bookcase. This will add strength to the bookcase and help keep the sides from bowing outward.
 -
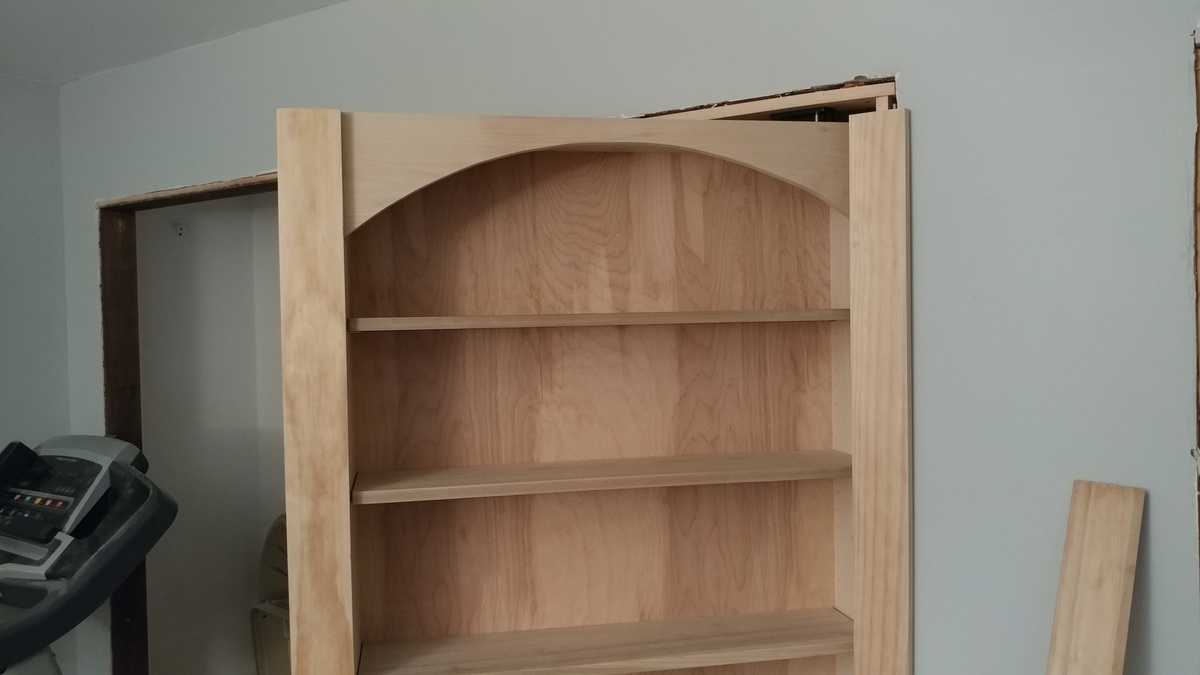
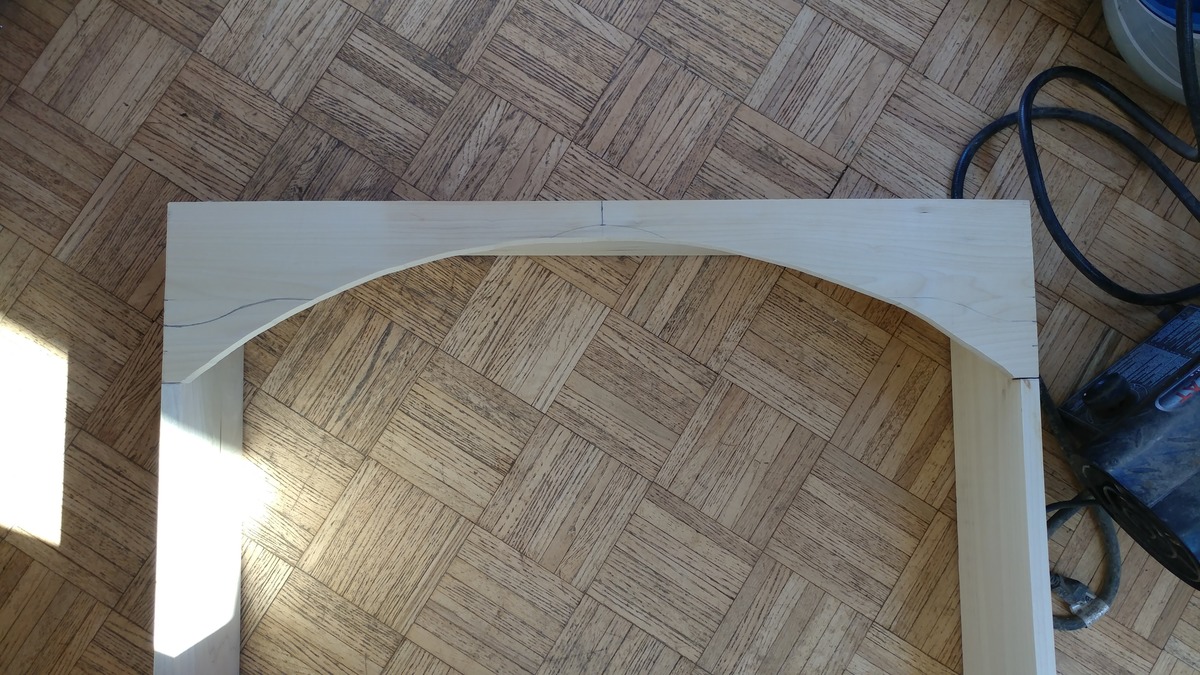 I cut an arch for the top. In addition to being decorative, this will hide the hinge pin in the top of the bookcase.
 -
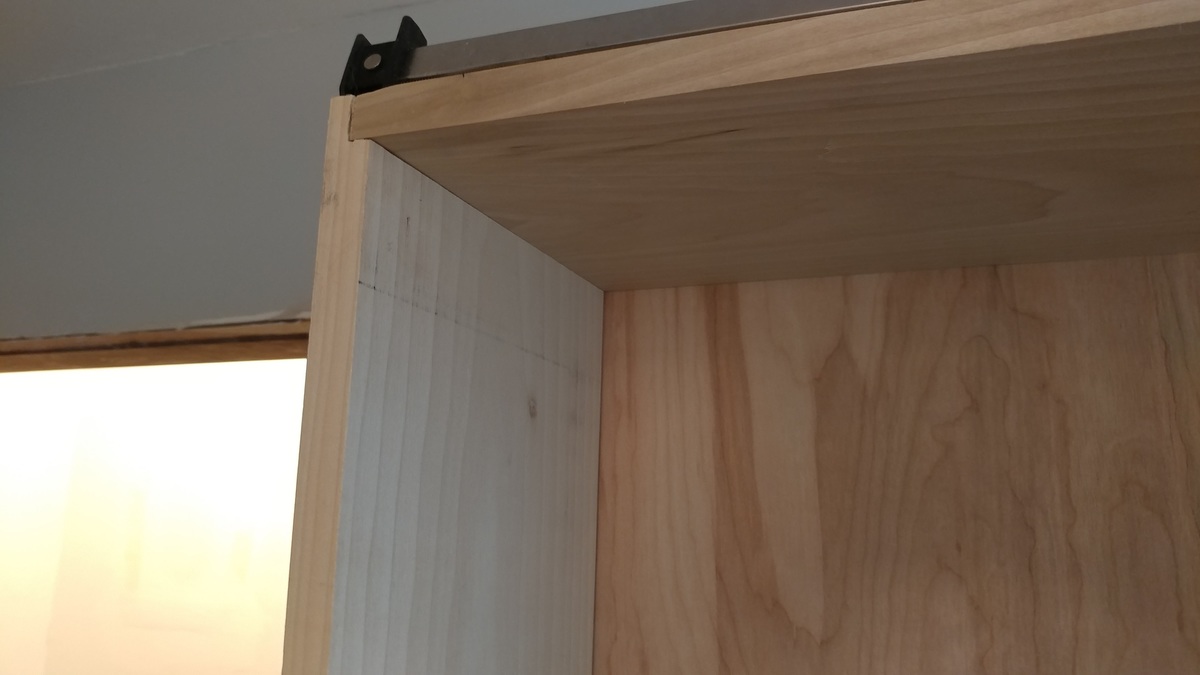
 Joints are fitting together nicely.
 -
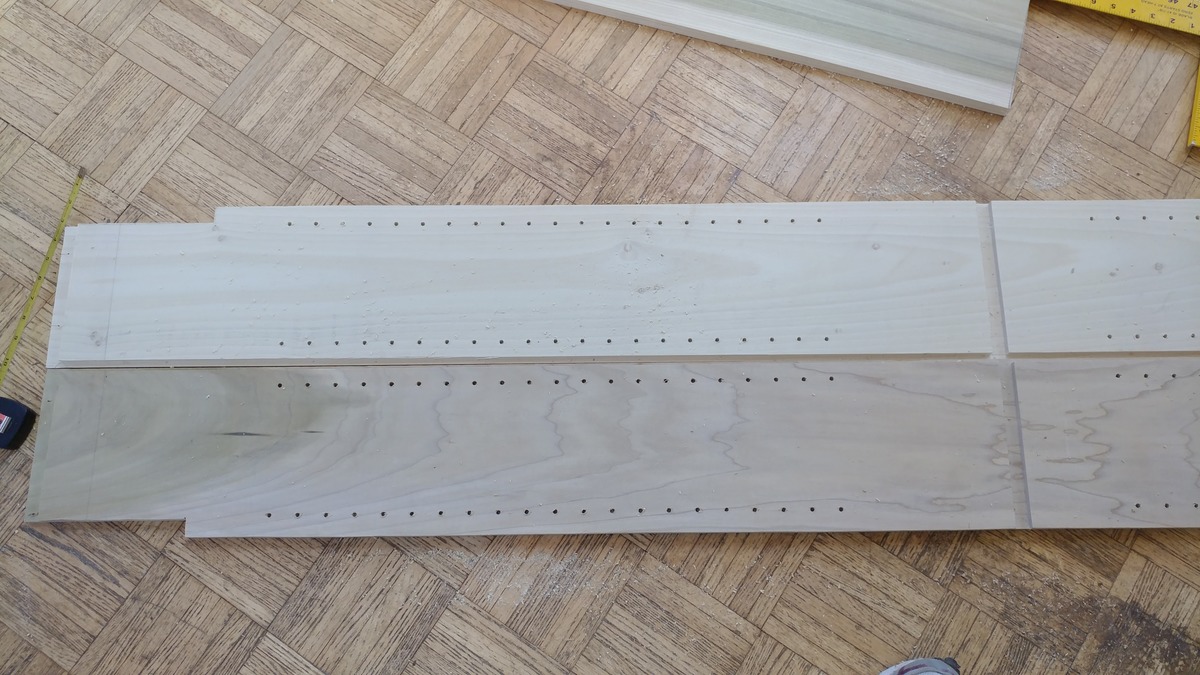 Adjustable shelf peg holes drilled using a jig
 -
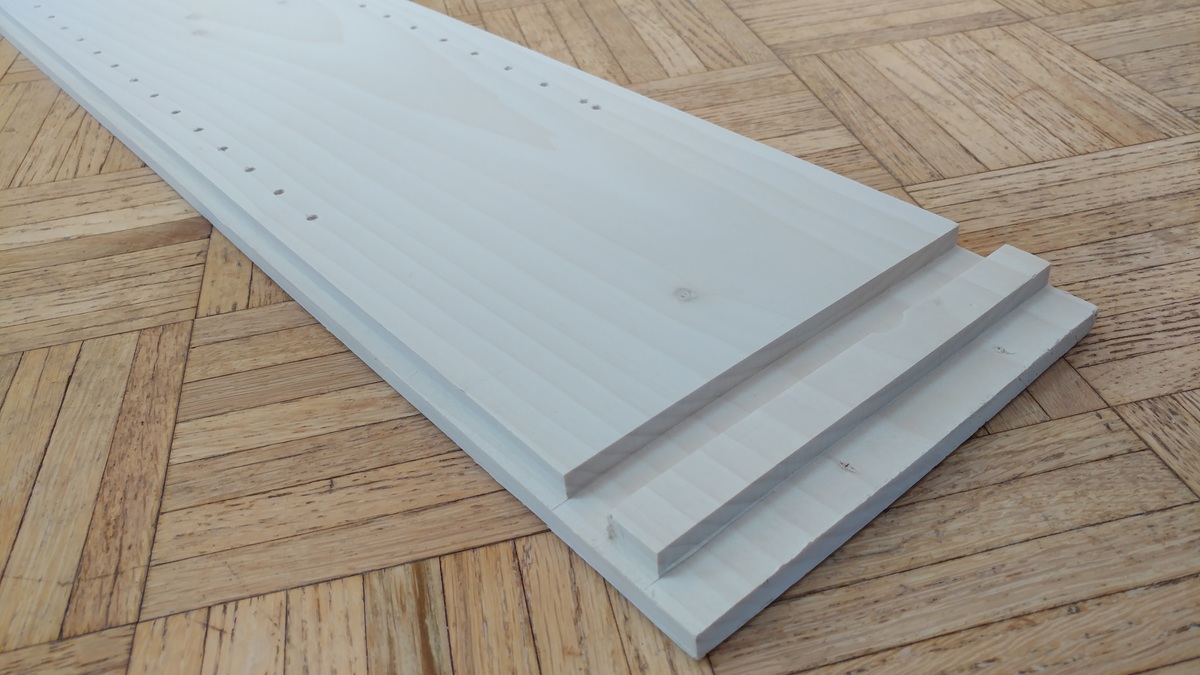 Dado and Rabbet cuts
 -
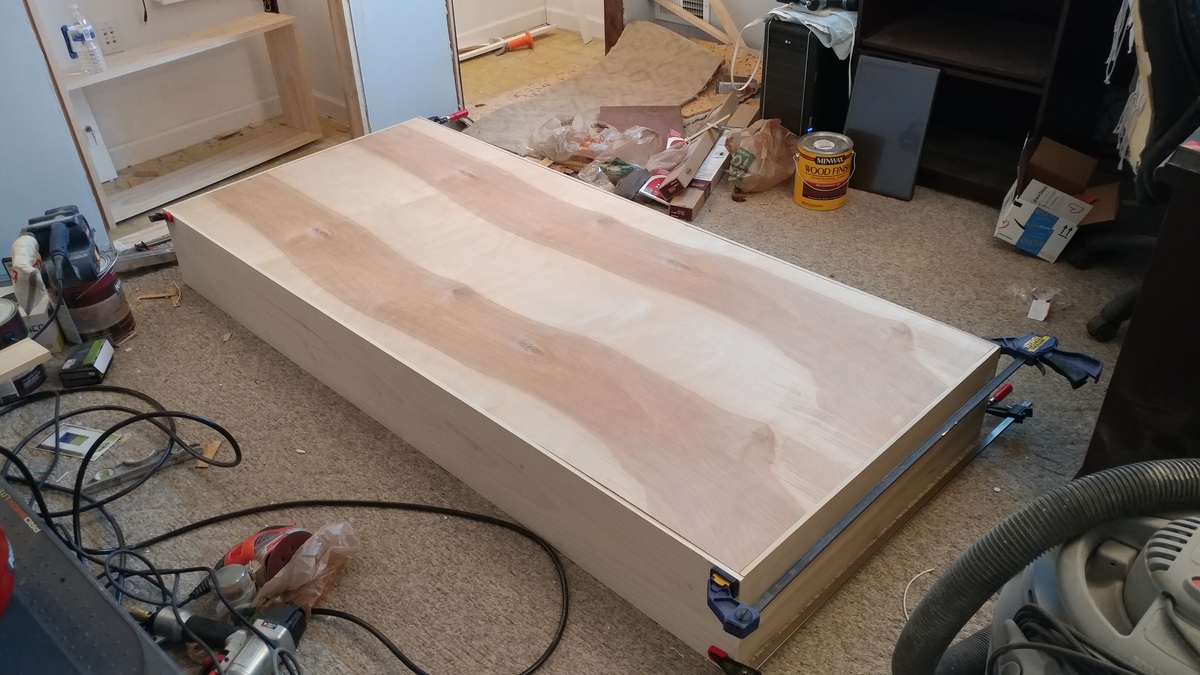
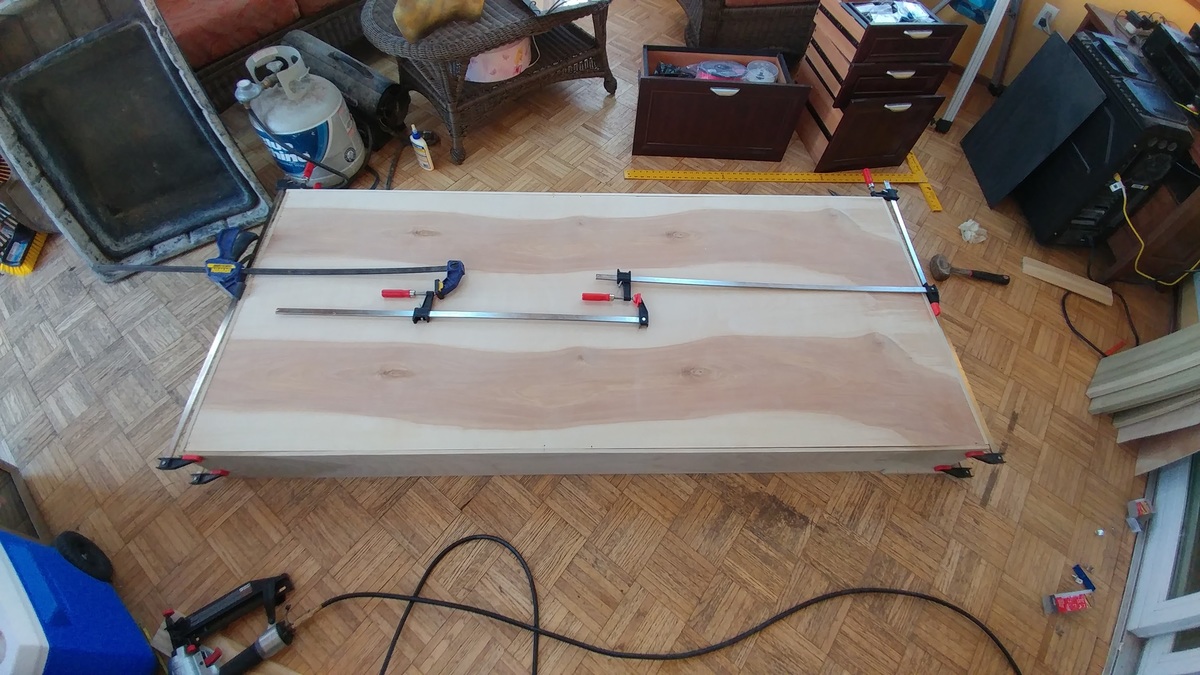 Many clamps were needed to hold the shape while I glued and nailed.
 -
 Glued and nailed. Now it's starting to look like something!
 -
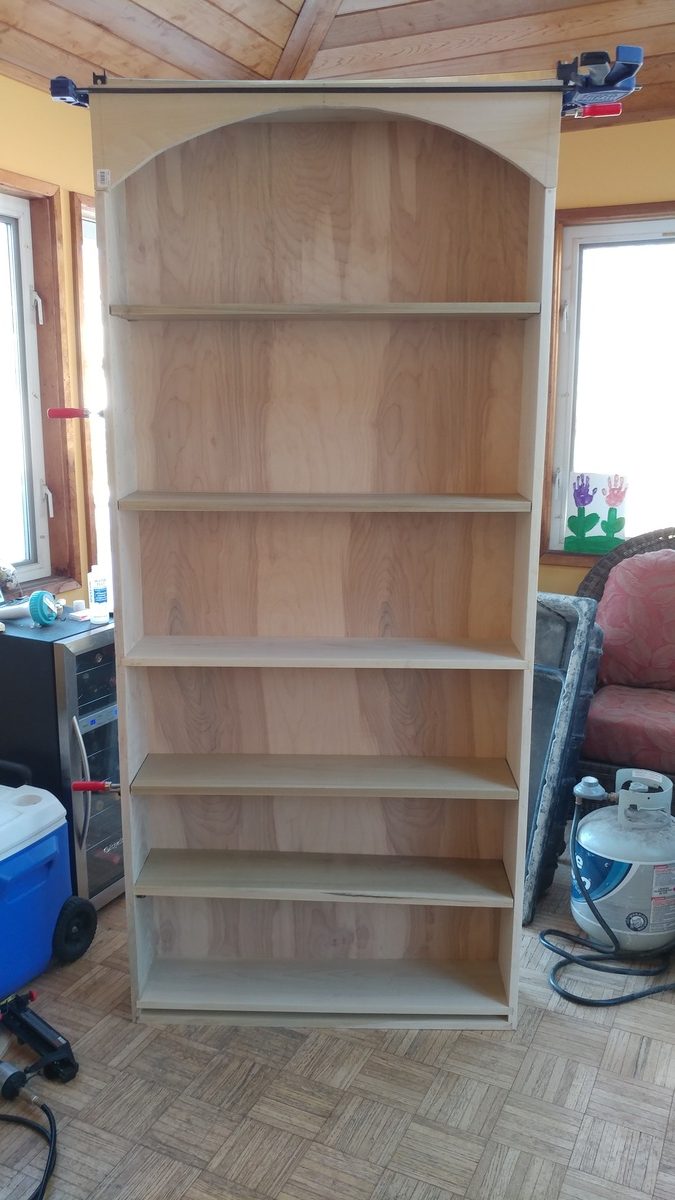 Withe the adjustable shelves cut I can see the bookcase taking shape
 -
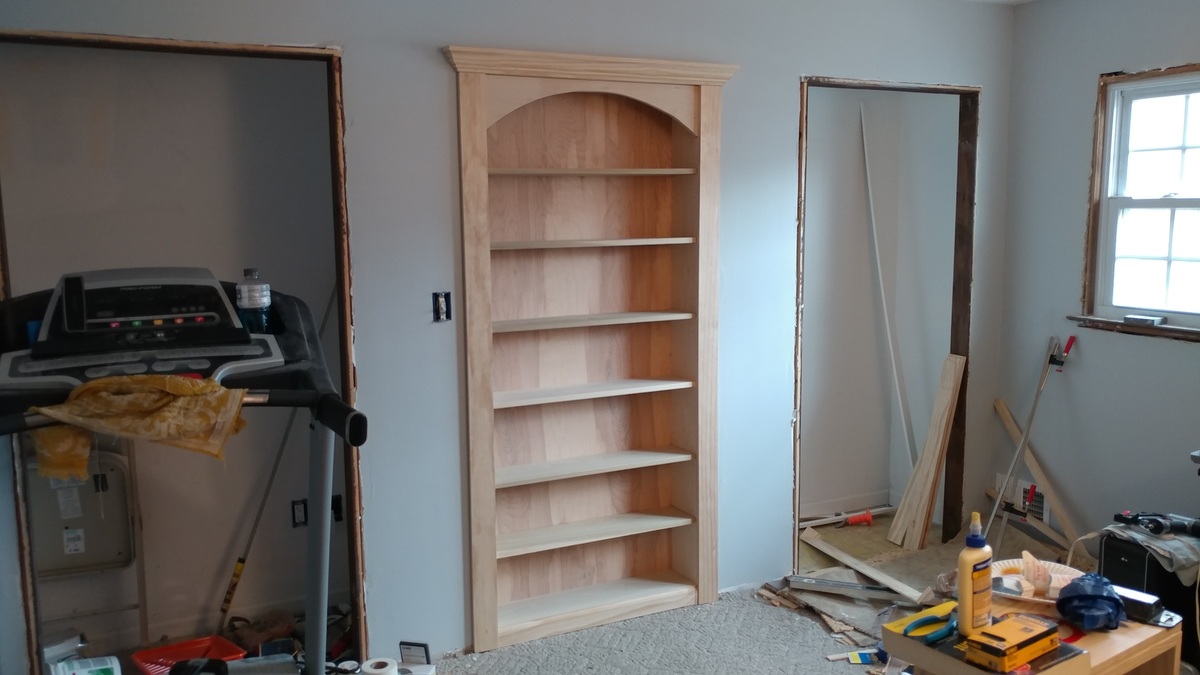
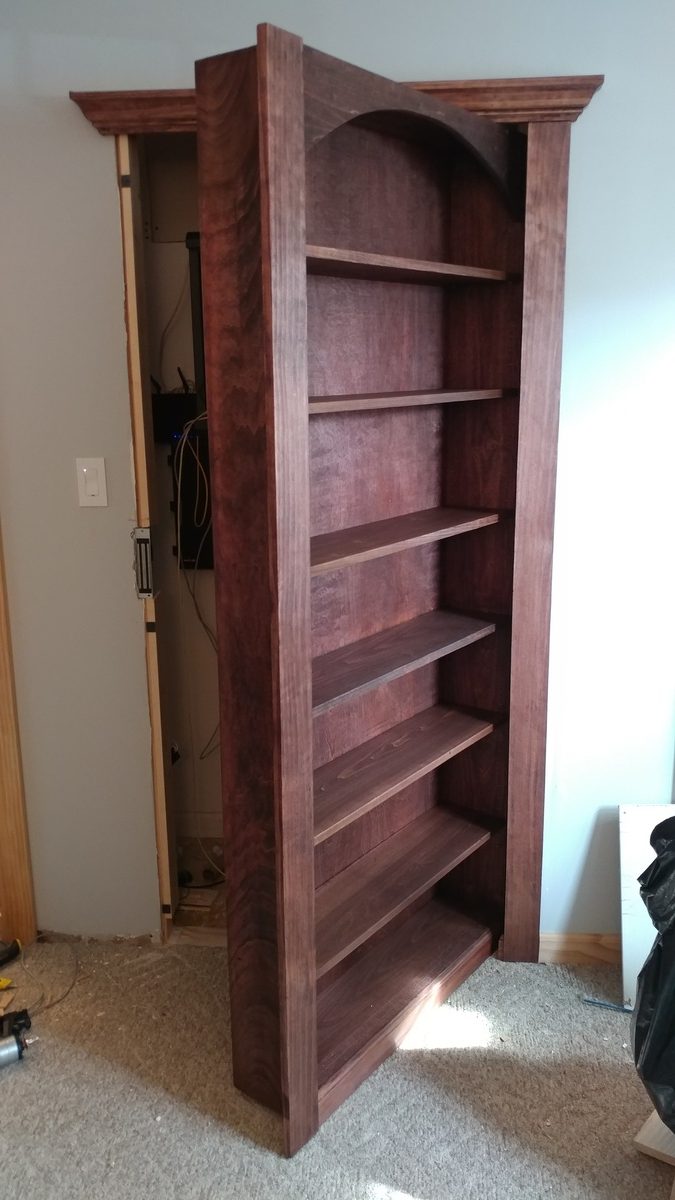
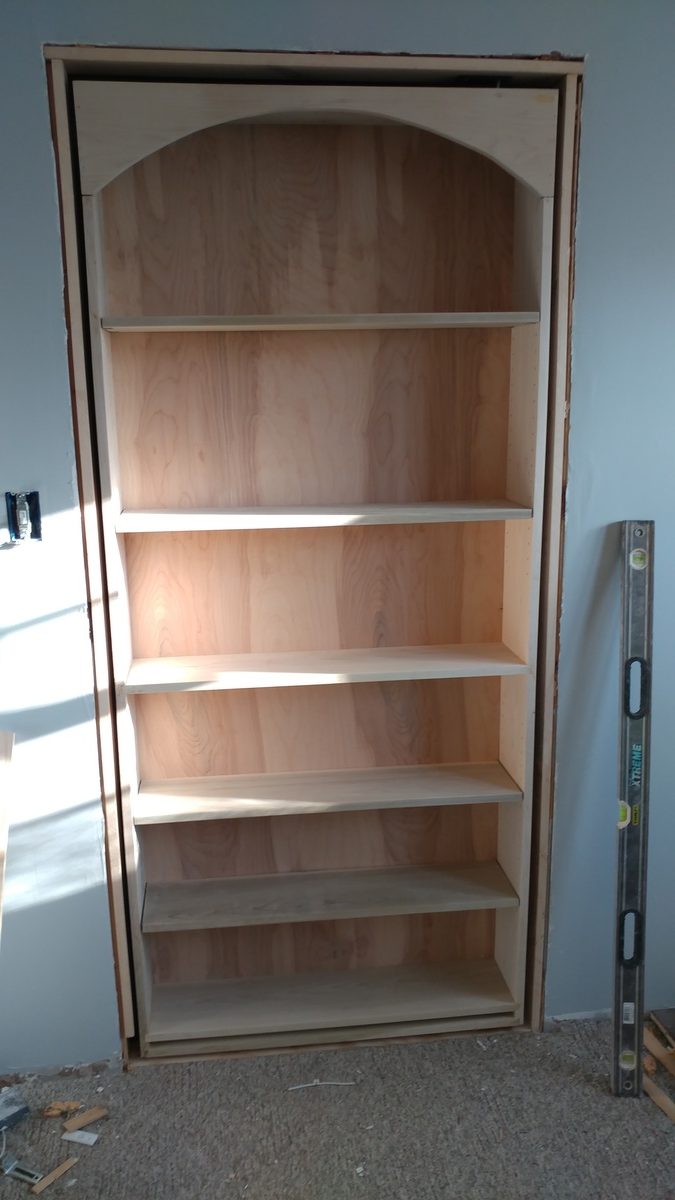 There it is hung! It fits PERFECTLY
 -
 And it opens to reveal a hiding Samantha!
 -
 And it's level! (mostly)
 -
 Added the side trim. Getting this right is crucial. It has to fit well enough that there are no obvious gaps, but still allow the door to open freely
 -
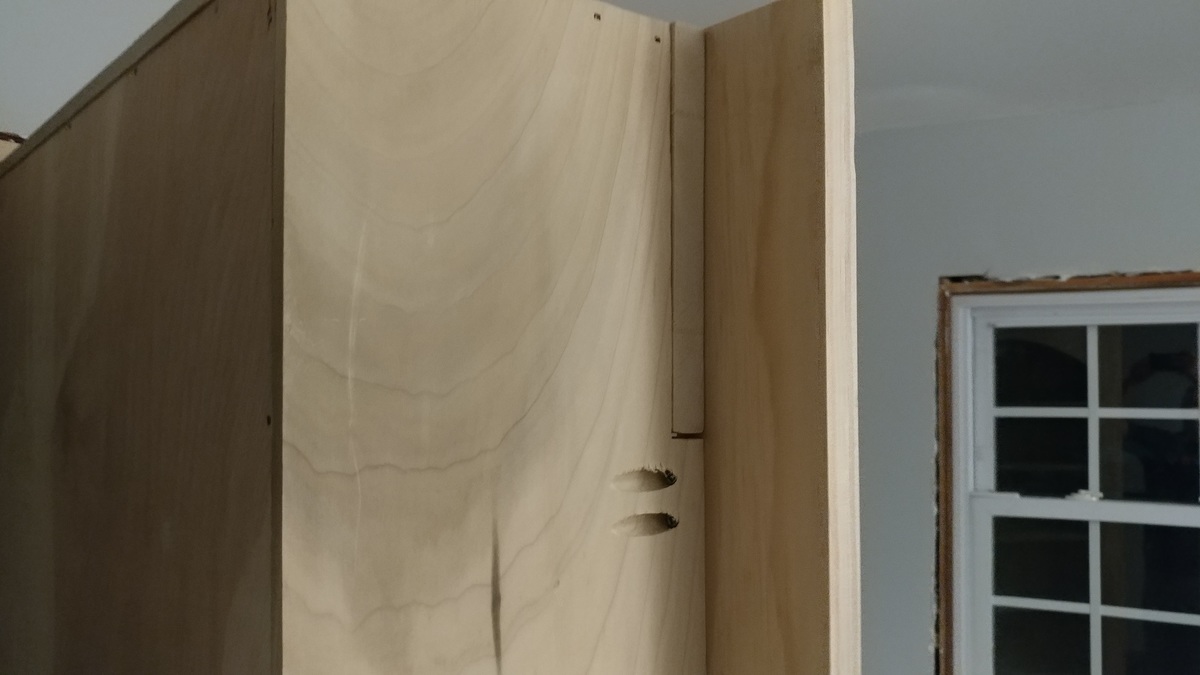
 Here you can see where the trim is attached. On the bookcase on the left side, on the wall on the the right side
 -
 For strength the trim is attached with pocket screws. The trim is effectively a door handle, so it has to be a strong connection. This is dry fit, but will be glued before I'm done. The pocket screws give the added benefit of showing no nail holes on the front.
 -
 Got the crown molding and baseboard attached. Getting the spacing on this was tricky and made me change how the bookcase would stay closed.
 -
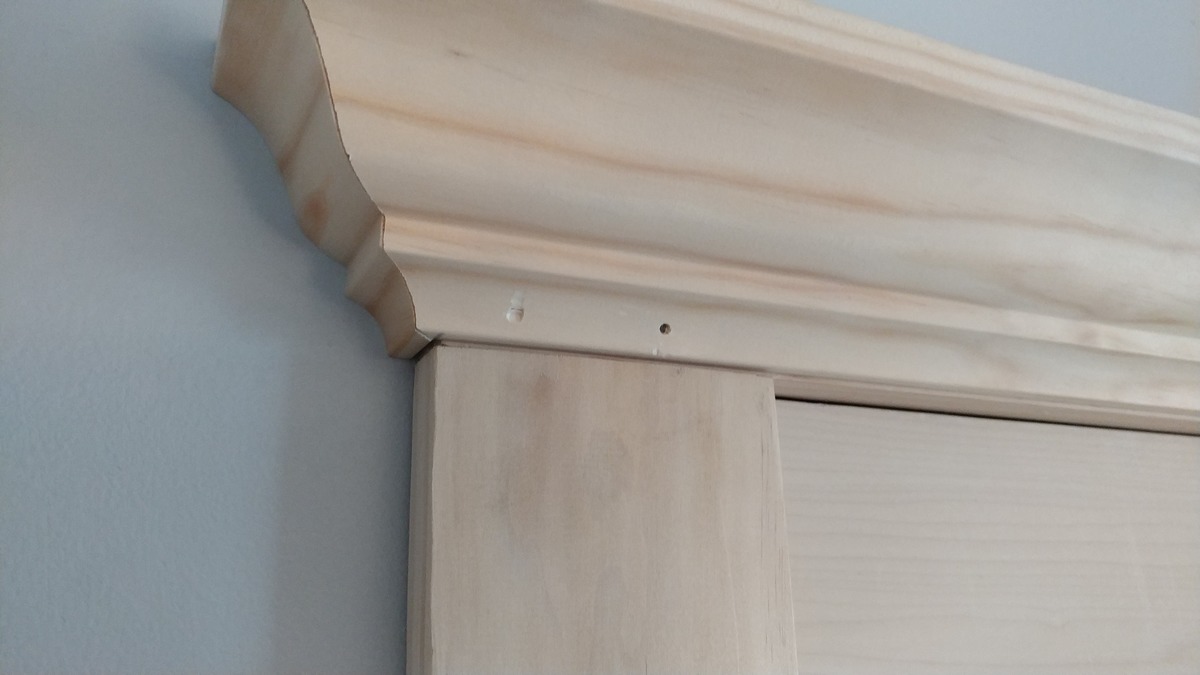 Close up of the crown molding joints. Not perfect, but good enough for government work.
 -
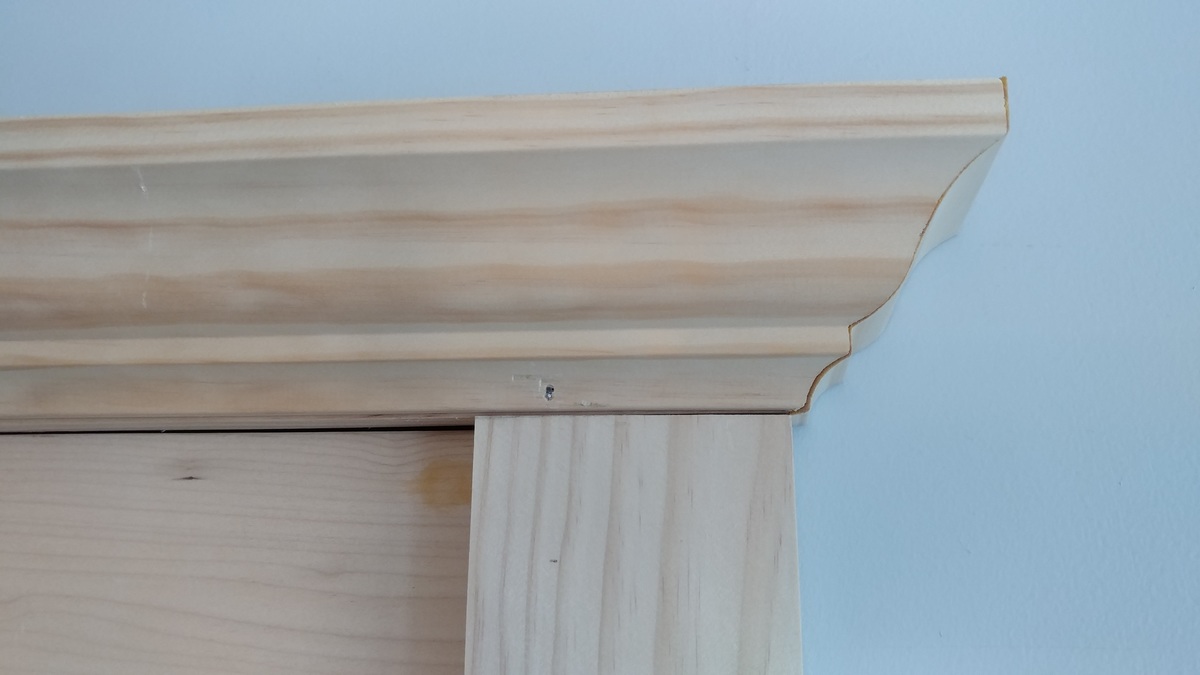 Joint on the right side. Slight gap in the crown molding joint. If I was painting it this wouldn't be a problem at all. I'm planning to stain it though.
 -
 Fully assembled, and fully open.
 -
 The other side.
 -
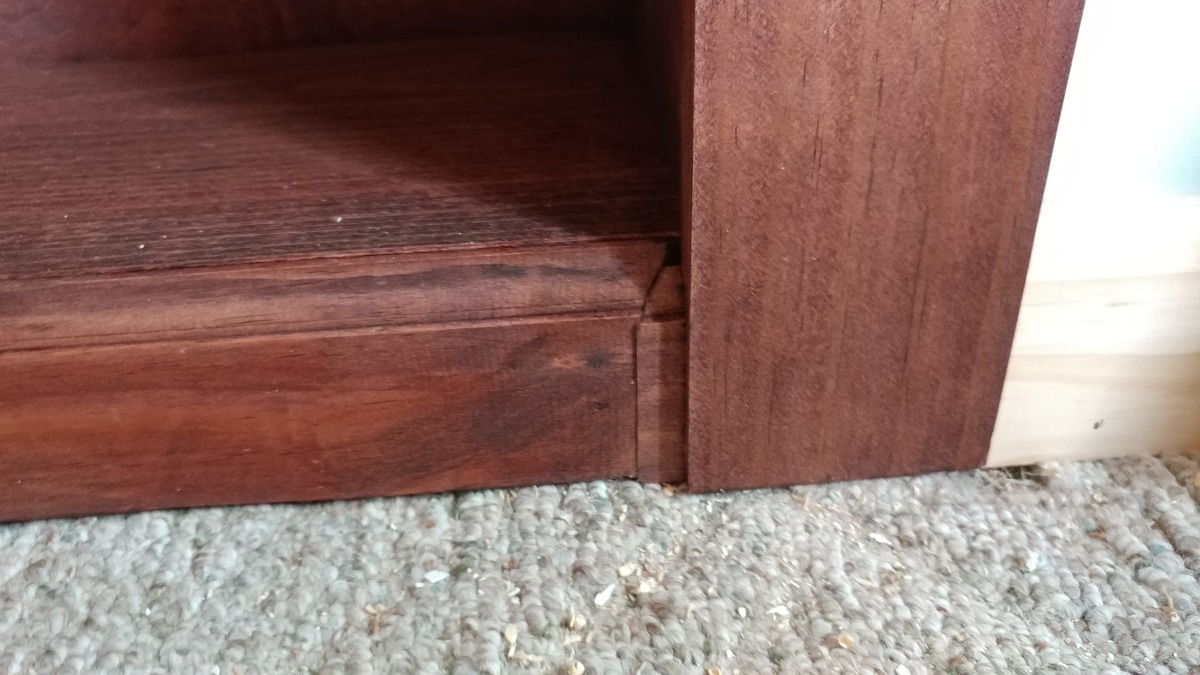
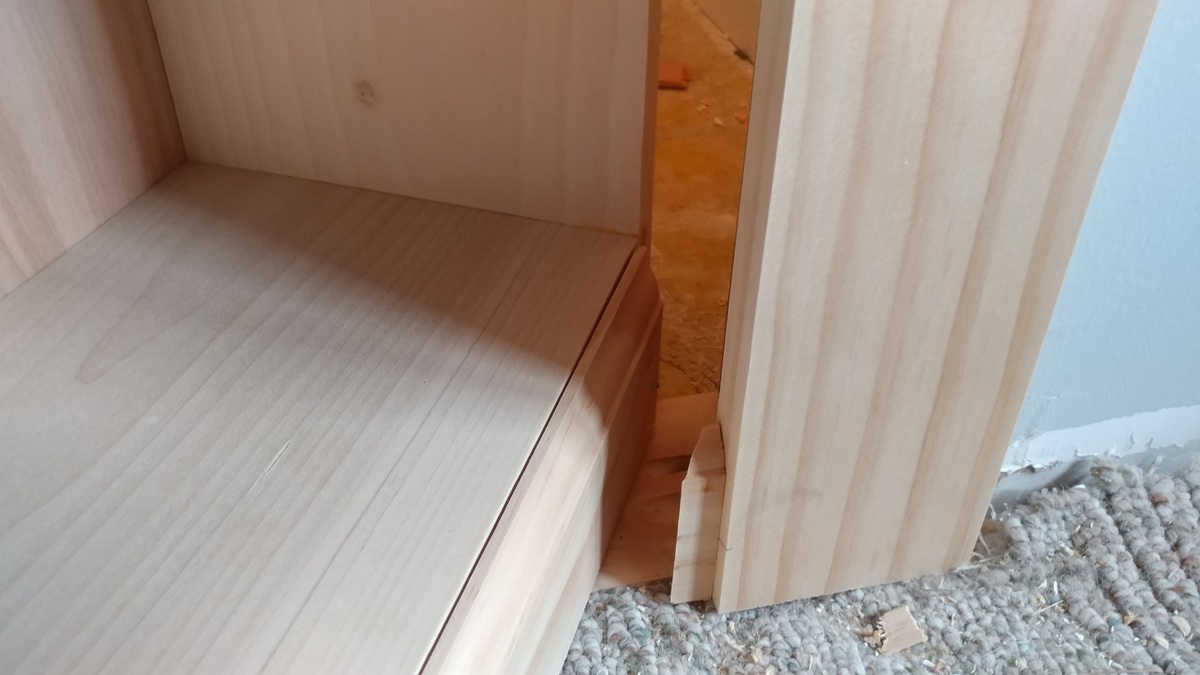 A close up of the base molding. I had to cut an angle for it to clear the side when it's opened. Once it's stained up, this will be unnoticable
 -
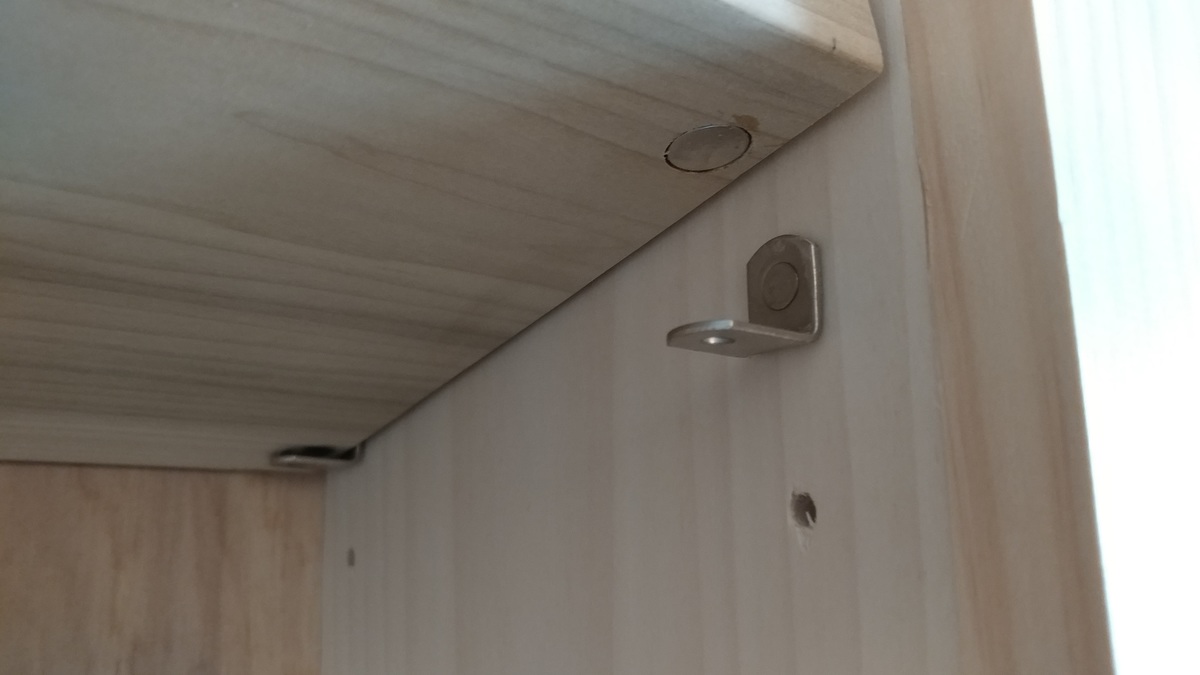 The magnets grab the metal pegs and hold perfectly in place.
 -
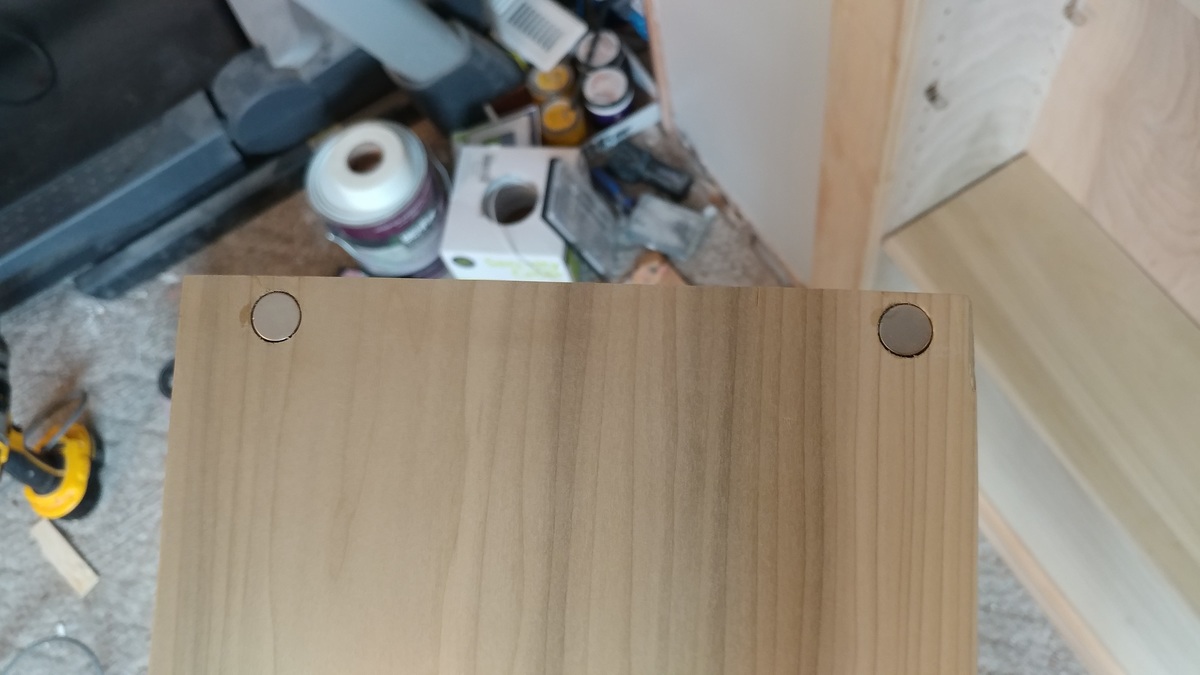 Ran into a small issue with the adjustable shelves shifting when the bookcase is opened and closed a few times. Some shelves would stick out slightly, causing then to catch on the trim potentially causing damage when you try to open the bookcase. To fix this I used a Forstner bit to embed neodymium magnets into the shelves.
 -
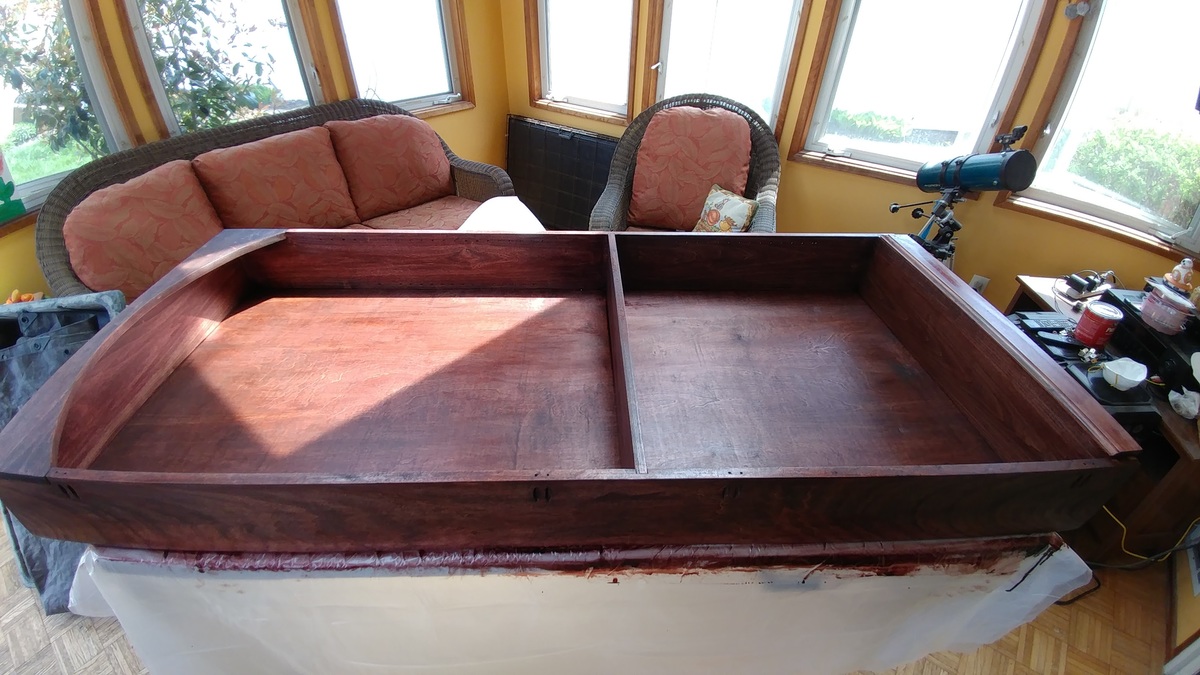 Here is the main unit stained. I used Red Mahogony and couldn't be happier
 -
 Here it is in place. Still have to Polyurethane, but I needed to fit it in to check some things. I couldn't be happier with this.
 -
 And it still opens!
 -
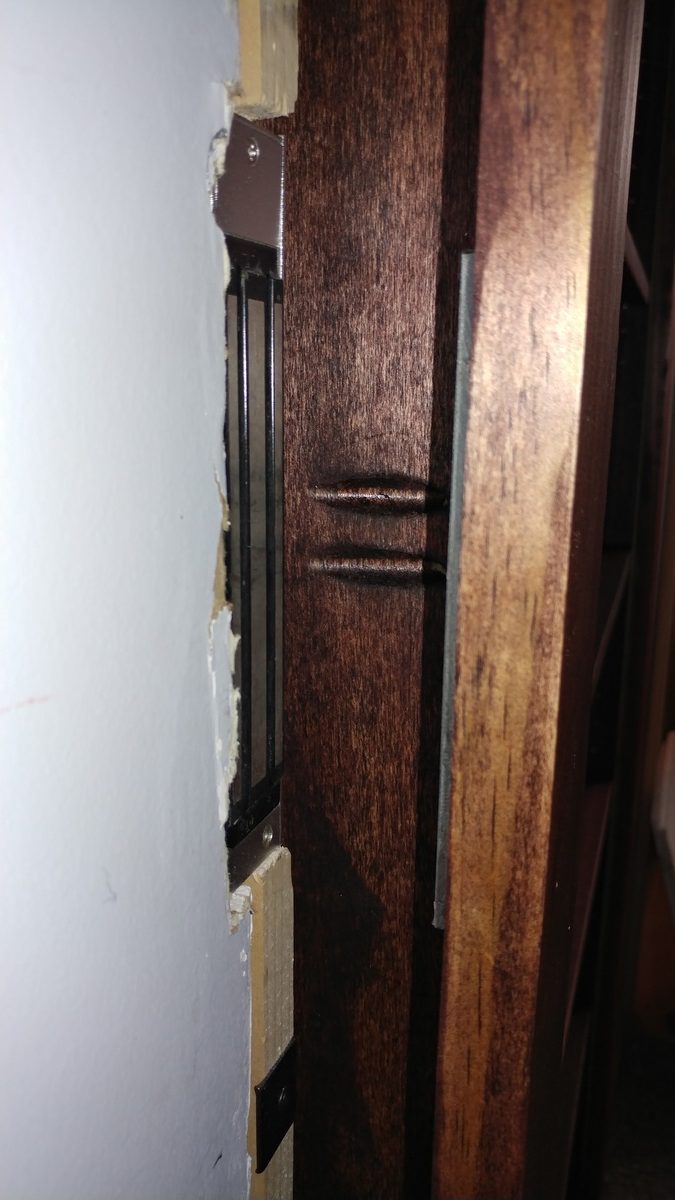 Here you can see the magnetic lock I will use to secure the door.
 -
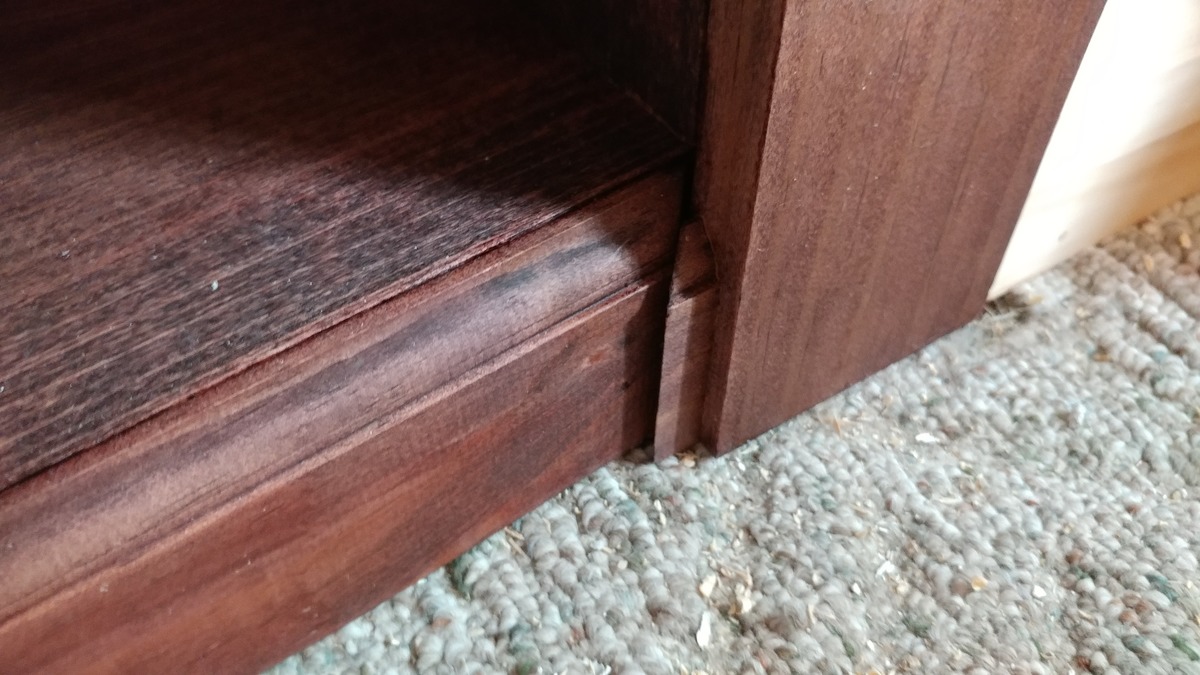
 And here is that base molding cut. With stain it's very hard to see unless you are looking right at it.
 -
 This shows how the molding moves when the bookcase opens.